10 Best Ways to Repair Scratches on Wooden Surfaces?

Time:2026-08-21 Author:Isabella
0%

When it comes to maintaining wooden surfaces, scratches can be a frustrating blemish. Expert woodworker Michael Anders once said, "Understanding how to repair scratches on wooden surfaces is essential for preserving their beauty." This insight emphasizes the importance of restoration techniques for wooden furniture and flooring.

Repairing scratches can often feel daunting. However, with practical knowledge, even the most novice DIY enthusiast can tackle this challenge. Various methods range from using simple household items to specialized products. Each approach caters to different types of scratches, allowing for customized solutions.

Navigating the world of wood restoration requires an eye for detail. It’s easy to overlook less visible scratches, but they contribute to the overall appearance. Regular maintenance should balance aesthetic appeal and functional longevity. Taking the time to learn how to repair scratches on wooden surfaces ultimately protects your investment and enhances the beauty of your space, making it worthwhile.
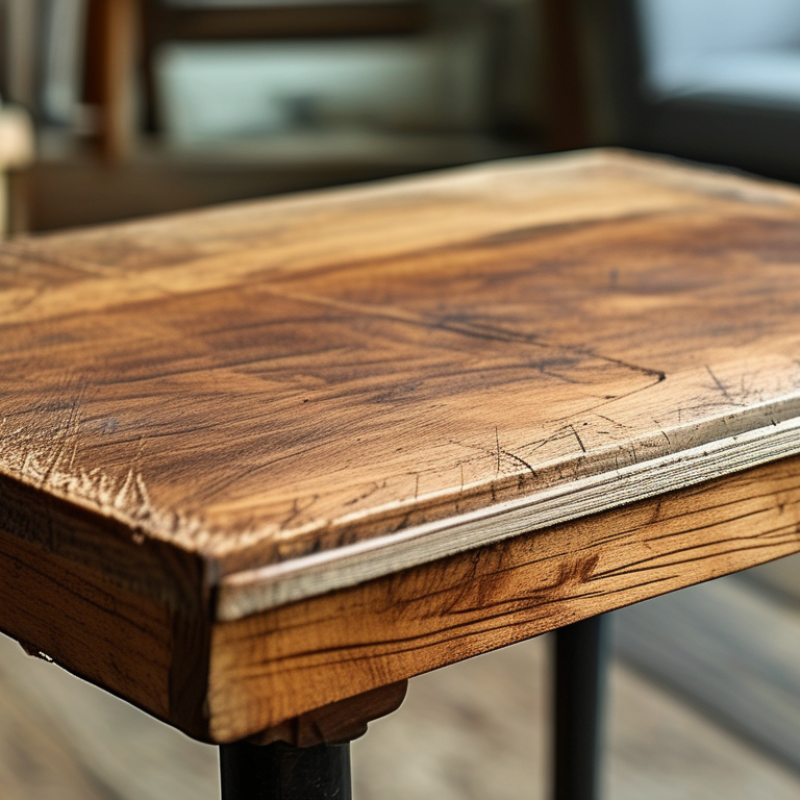
10 Best Ways to Repair Scratches on Wooden Surfaces?

Understanding the Types of Scratches on Wooden Surfaces

Scratches on wooden surfaces can range from light marks to deep gouges. Understanding these scratches is crucial for effective repair. Light scratches are often superficial and can usually be addressed easily. They may only affect the finish of the wood without penetrating deeply. In contrast, deep scratches can damage the wood itself. They may require more intensive restoration methods to repair.

Various factors contribute to the type of scratches. Furniture can sustain damage from heavy items being dropped or dragged. Pets may leave their marks with their claws. Even routine cleaning can inadvertently create scratches if the wrong tools are used. This underscores the importance of using appropriate cleaning methods and materials.

A wood surface's finish can also affect how scratches appear. A glossy finish may show scratches more prominently than a matte one. Understanding the specific type of scratch you are dealing with helps in selecting the right repair method. For example, wax sticks may work for shallow scratches, while sanding and refinishing could be necessary for deeper flaws. Each method requires a careful approach to restoring the wood's natural beauty.

10 Best Ways to Repair Scratches on Wooden Surfaces

Essential Tools and Materials for Scratch Repair

Repairing scratches on wooden surfaces can be a satisfying project. The right tools and materials make a significant difference in achieving a professional finish. For scratch repair, having the following essentials is crucial. First, a wood filler or wax stick that matches the wood color will help fill in those pesky scratches. Filler can blend seamlessly, making imperfections almost disappear. Additionally, fine-grit sandpaper will be vital for smoothing the surface before applying any finish.

A soft cloth is often overlooked. It helps clean the area before applying the filler. Using a clean cloth prevents dust and debris from ruining the repair. A clear polish or wood finish can be helpful to seal the repair and match the sheen of the surrounding area. According to the National Wood Flooring Association, homeowners often underestimate the importance of matching finishes, which can impact the aesthetic significantly.

For those interested in DIY, here’s a tip: test your materials on a small, inconspicuous area first. It ensures the color and finish match. Sometimes, even experienced users find that their initial choice doesn’t align perfectly. This small step can save time and frustration. Remember, imperfections in repairs are common, and learning from them refines your technique. Always be ready for adjustments and improvements throughout the process.

Step-by-Step Guide to Repairing Minor Scratches

Repairing minor scratches on wooden surfaces can be straightforward if you follow a few simple steps. Start by assessing the scratch's depth. For surface-level scratches, gentle cleaning may suffice. Use a soft cloth and mild soap to rub the area gently. This can remove dirt and oils that may amplify the scratch's visibility.

For deeper scratches, consider using a wood filler or a color-matched marker. Apply the filler into the scratch and smooth it with a putty knife. Allow it to dry completely. If needed, sand the area lightly for uniformity. Remember, applying too much pressure can exacerbate the problem. For a more natural look, rub a walnut over the scratch. The oils will help blend the damage with the rest of the wood.

Always test any product in a less visible area first. Experience plays a crucial role in achieving the best results. Do not expect perfection with every attempt. Sometimes, a scratch might not disappear completely, which can add character to the piece. Embrace the imperfections as part of the wood's story.

Effective Techniques for Dealing with Deep Scratches

Dealing with deep scratches on wooden surfaces can be challenging. These imperfections often create a stark contrast against the rich wood grain. One effective technique is using a mixture of vinegar and olive oil. This natural solution can help reduce the visibility of scratches while providing nourishment to the wood. Apply the mixture with a soft cloth, using light pressure. It’s essential to follow the wood grain to achieve the best results.

Another method involves wax filling. You can use a colored wax stick that matches your wood. Rub the stick directly into the scratch, ensuring it fills the groove adequately. Afterward, buff the area with a soft cloth. This process not only conceals the scratch but also adds a protective layer. Always test this on an inconspicuous area first, as different woods react differently. It's important to reflect on your technique—did the color match well? Was the application consistent? Making adjustments based on these observations can lead to better outcomes.

Preventive Measures to Avoid Future Scratches on Wood

Preventing scratches on wooden surfaces is vital to maintain their beauty and durability. Regular maintenance and protective methods can keep your wood looking its best. Consider placing felt pads under furniture legs. They create a barrier against scratches, especially on delicate floors. Additionally, using coasters for cups and dishes prevents rings and marks that can lead to deeper damage.

Another effective strategy is to keep wooden surfaces clean and dust-free. Dirt and grit can act like tiny abrasives, causing scratches over time. A soft, dry cloth or a microfiber cloth works well for routine cleaning. It’s essential to avoid harsh chemicals, as they can degrade the wood's finish. When cleaning, focus on specific areas to ensure thoroughness while being careful not to miss hidden spots.

Lastly, maintain humidity levels in your home. Wood expands and contracts with changes in moisture. This fluctuation can lead to cracks and uneven surfaces. A humidifier in dry seasons helps stabilize the environment. By taking these proactive measures, you can significantly extend the life of your wooden surfaces. Reflect on your current practices and consider adjustments for better care.

10 Best Ways to Repair Scratches on Wooden Surfaces

Method Materials Needed Steps Preventive Measures
Wax Filling Wood wax stick 1. Clean the surface.
2. Apply wax stick to scratch.
3. Buff with a soft cloth.
Use coasters to reduce scratches.
Scratch Remover Scratch remover solution 1. Apply scratch remover to scratch.
2. Wipe with cloth.
Avoid dragging furniture across the floor.
Wood Stain Matching wood stain 1. Sand down the area.
2. Apply wood stain.
3. Let it dry.
Use felt pads under objects.
Olive Oil and Vinegar Olive oil, vinegar 1. Mix equal parts.
2. Apply to scratch with cloth.
Regularly polish the wood.
Coffee Grounds Used coffee grounds 1. Apply coffee grounds to scratch.
2. Dampen slightly and rub.
Keep pets away from wooden furnishings.
Baking Soda Paste Baking soda, water 1. Mix baking soda and water.
2. Apply to scratch and let sit.
Avoid placing hot items directly on the wood.
Toothpaste Non-gel toothpaste 1. Apply toothpaste to scratch.
2. Rub gently with cloth.
Place decorative items to cover scratches.
Furniture Marker Furniture touch-up marker 1. Color the scratch with marker.
2. Wipe off excess.
Keep wood surfaces clean and dry.
Wood Filler Wood filler 1. Fill the scratch with wood filler.
2. Sand and finish.
Use tablecloths to protect surfaces.
Professional Refinishing Professional service 1. Hire a professional to refinish. Consider using protective sprays.

FAQS

: How do I assess the depth of a scratch on wood?

: Check if the scratch is surface-level or deeper. Surface scratches may need cleaning, while deeper ones require filler.

What’s a simple way to clean surface-level scratches?

Use a soft cloth and mild soap. Gently rub the area to remove dirt and oils that affect visibility.

How can I repair a deeper scratch?

Consider using a wood filler or color-matched marker. Apply it into the scratch and smooth it out carefully.

What should I do after applying wood filler?

Allow the filler to dry completely. Lightly sand the area for a uniform finish, but don’t apply too much pressure.

Are there natural methods to improve scratch visibility?

Yes, rubbing a walnut over the scratch can help. The natural oils blend the damage with the wood’s surface.

How can I use vinegar and olive oil for scratches?

Mix vinegar and olive oil, apply with a soft cloth, and follow the wood grain. It nourishes the wood while reducing scratch visibility.

What if the scratch doesn't completely disappear?

Embrace the scratches as part of the wood's story. Not every attempt will be perfect, and that’s okay.

Why is testing products on a hidden area important?

Different woods react differently to products. Testing helps to avoid visible damage in the main area.

What should I reflect on after a repair attempt?

Consider if the color matched well and if your application was consistent. Adjust based on these observations for better results.

Conclusion

Repairing scratches on wooden surfaces can be a straightforward process with the right approach and tools. To effectively address this issue, it's essential to first understand the types of scratches present on your wood. Minor scratches can often be polished out or filled with wax, while deeper scratches may require more intensive techniques such as sanding or the application of wood filler.

In the article, we provide a step-by-step guide to repairing minor scratches, alongside effective methods for tackling deeper damage. Furthermore, we emphasize the importance of using essential tools and materials throughout the repair process. To ensure longevity and maintain the beauty of wooden surfaces, we also explore preventive measures that can be taken to avoid future scratches. By following these guidelines, readers will learn how to repair scratches on wooden surfaces efficiently and protect their investment for years to come.

Isabella

Isabella

Isabella is a dedicated marketing professional with a sharp focus on driving brand growth and engagement through strategic content creation. With an extensive background in digital marketing, she combines her passion for storytelling with her keen understanding of industry trends to deliver......